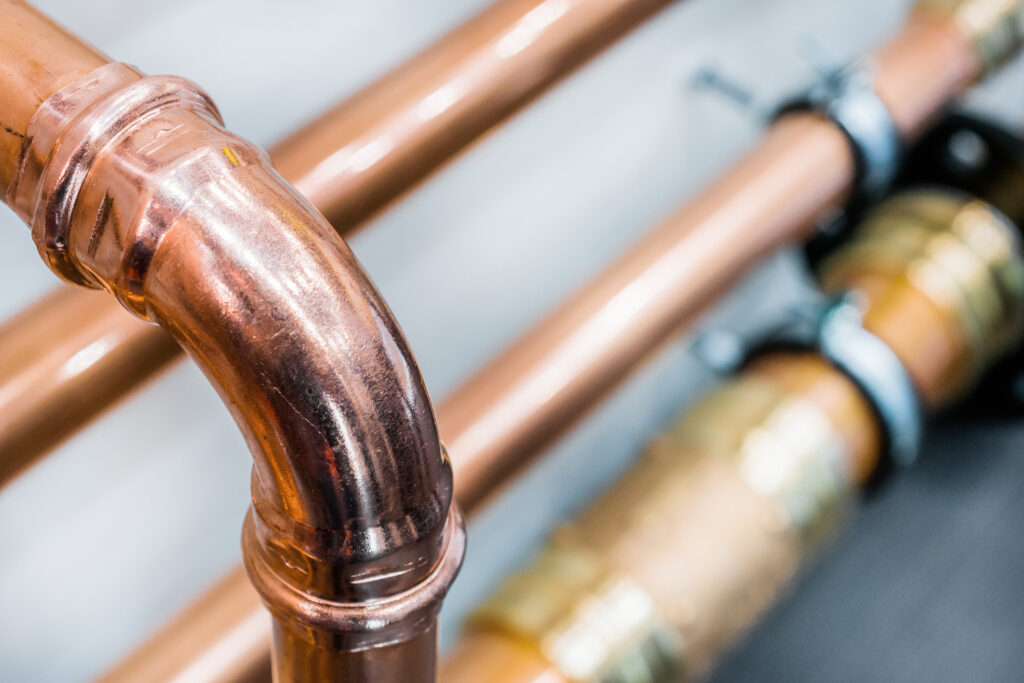
Soldering copper pipes is a plumbing task that many homeowners want to tackle on their own. In all fairness, with enough online tutorials and a trip to the hardware store, many things seem easy enough.
But while copper pipe soldering might appear simple, it’s a skill that requires precision, the right equipment, and a solid understanding of plumbing safety. Mistakes can lead to leaks, water damage, or even injuries.
In this guide, we’ll explain what soldering copper plumbing entails, highlight common pitfalls, and help you determine when to call a licensed plumber instead.
Essential Tools & Materials for Soldering Copper Pipes
Before you begin heating pipes, you’ll need to stock up on several essential tools and materials. These aren’t always household staples, and some can be pricey. Here’s what you’ll need:
- Soldering torch
- Deburring tool
- Wire brush
- Pipe cutter
- Emery tape
- Steel wool
- Pipe fittings
- Copper pipe
- Solder
- Flux
- Rag
- Bucket
- Ventilation
- Protective safety glasses
- Gloves
- Heat shield
- Fire extinguisher
- Soldering iron stand
When priced out, this can cost $100 to $150 or more, depending on the specific versions you opt for.
Step-by-Step Guide to Soldering Copper Plumbing
Soldering requires some finesse. Even tiny misfires–like a drop of water in the pipe–can prevent the solder from adhering properly.
Step 1: Cut the Copper Pipe Cleanly
Use a pipe cutter to ensure a square, burr-free edge. A jagged cut will make it impossible to seal properly.
Step 2: Clean the Pipe & Fitting
Use an emery cloth and a wire brush to scrub both the outside of the pipe and the inside of the fitting. Dirt or oxidation can cause a leak later.
Step 3: Apply Flux
Coat the cleaned pipe and fitting with flux. This helps the solder flow evenly and prevents oxidation when heated.
Step 4: Heat the Joint
Use a propane torch to evenly heat the joint—not the solder. Once the flux begins to sizzle, the pipe is hot enough.
Step 5: Apply Solder
Touch the solder to the joint. The connection is hot enough if it melts and flows into the seam. Let it cool naturally before moving the pipe.
Common Mistakes to Avoid When Soldering Pipes
It’s perfectly understandable if you run into a few roadblocks, but these are the top mistakes to avoid:
- Not prepping the pipe properly: Failing to clean the pipe and fitting before applying flux can lead to poor adhesion and leaks.
- Using the wrong flux: Make sure to use flux designed for the application—acid-based flux is meant for metalwork, not plumbing, and can corrode pipes.
- Overheating the joint: Excessive heat can burn off the flux and cause oxidation, preventing proper solder flow.
- Overapplying solder: If the solder is not distributed evenly, adding too much can clog the pipe or create weak spots.
- Heating the solder, not the joint: Always heat the fitting, not the solder directly. Let the heat draw the solder into the joint.
- Moving the joint too soon: If you move the pipe before the solder fully cools and solidifies, you can break the seal and compromise the connection.
Soldering Copper Plumbing FAQs
What safety precautions should I follow?
Always work in a well-ventilated area, wear flame-resistant gloves, and have a fire extinguisher nearby.
Use a heat shield behind walls or other flammable surfaces, and never solder near gas lines or wiring.
Can soldered copper plumbing last long term?
Yes, soldered copper joints are permanent and highly durable; the only way to remove or adjust a joint is to cut the pipe.
When to Call a Plumber to Solder Copper Plumbing
Call a plumber if DIY soldering is shaping up to be more complicated and expensive than you expected.
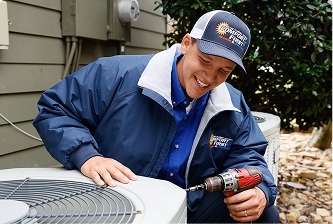
At Comfort First Heating & Cooling, our licensed and insured plumbers are trained to handle all copper pipe repairs safely and effectively.
We offer trustworthy pricing and same-day plumbing services and guarantee our work.
Contact Comfort First today to schedule plumbing service in the Triangle or Sandhills area and experience comfort you can count on.