It’s tempting to try and handle plumbing yourself – especially if you’re handy or just want to save some cash–when adding a new bathroom or updating an old one. After all, plumbing is one of the biggest parts of the job.
However, it involves careful planning, exact measurements, and following local building codes. A minor hiccup can tear the whole thing down, and you could end up having to rip everything out and start from scratch.
We’ve compiled a guide to explain bathroom plumbing, the tools you need, and the perks of trusting a professional.
What Does Plumbing a Bathroom Include?
Plumbing a bathroom typically involves two main phases: rough-in plumbing and fixture installation.
Rough-in plumbing includes running drain-waste-vent (DWV) pipes and water supply lines to their proper locations. This phase demands strict measures to ensure your bathroom fixtures work safely and efficiently.
Once the framing and drywall are finished, you’ll install toilets, sinks, tubs, and showers.
Virginia Plumbing Code Compliance
In Virginia, plumbing a bathroom legally requires a permit and a licensed plumber. Homeowners, handymen, and general contractors aren’t allowed to do this work unless they’re licensed.
If the work isn’t done to code, it can result in fines, denied insurance claims, or the need to tear out and redo the plumbing.
Licensed plumbers know the rules for venting, pipe size, and fixture spacing, so if you’re remodeling or adding a bathroom, the wisest choice is to hire a professional.
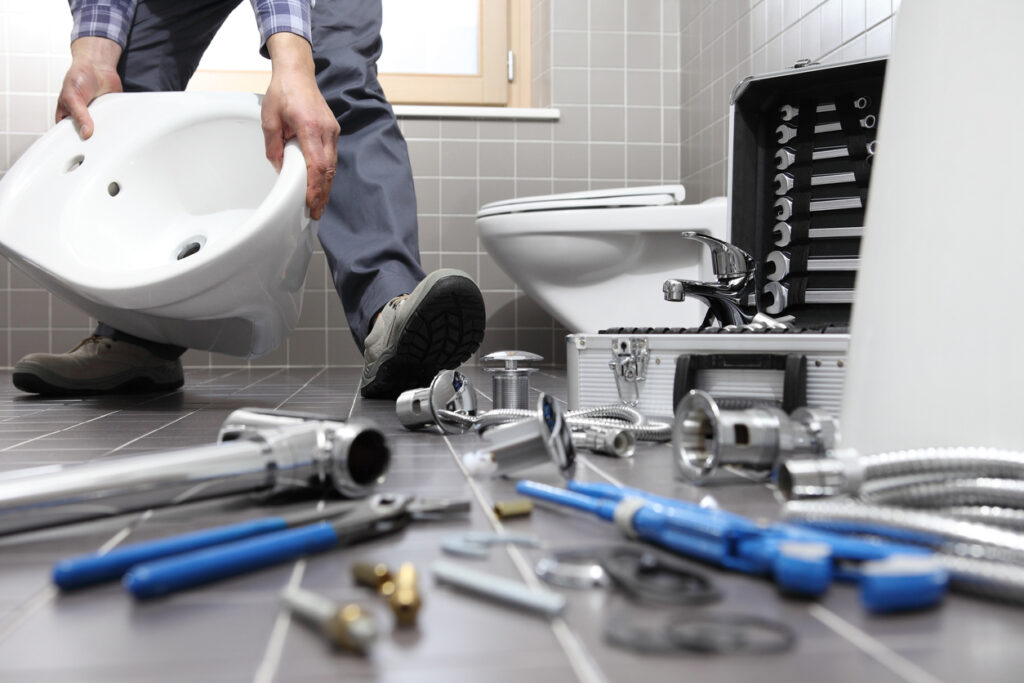
Tools & Materials Required to Plumb a Bathroom
You’ll want to stock up on some select tools. These are by no means cheap, but having the correct full suite of tools and materials is a must. Get your hands on:
- Pipe wrench
- Pipe cutter
- Measuring tape
- Pipe threader (for galvanized pipes)
- Plumber’s tape
- Soldering tools or press fittings
- Level
- Drill and hole saw
- PVC or ABS piping
- PEX or copper pipe
- Vent pipe
- Toilet flange
- Faucet and fixture supply lines
- Trap assemblies
- Pipe hangers and brackets
- Plumbing adhesive and sealant
- Safety gear, such as gloves and eye protection
Please note that materials alone can cost hundreds of dollars, not including tools or potential rework from mistakes.
Step-by-Step Guide to Plumbing a Bathroom
This overview is not a substitute for professional expertise or code compliance, but it can help you understand the process.
Shut Off the Water Line
Before doing anything, shut off the water supply to your home. Drain existing lines to prevent spills when cutting into pipes.
Rough-In the Plumbing
This involves running new water supply lines and drain pipes to their proper locations. It’s also when you’ll install the toilet flange and vents.
Toilet
- Install a 3″ drain line.
- Add a closet bend and flange.
- Ensure proper venting for airflow.
- Confirm placement is 12″ from the finished wall.
Sink
- Use 1½” drain pipe.
- Add a P-trap connection and vent.
- Rough in hot and cold supply lines at the proper height.
Bathtub & Shower
- Use a 2″ drain line.
- Install overflow and trap.
- Rough-in supply lines to match the faucet’s layout.
- Ensure proper spacing for showerheads or tub spouts.
Install Fixtures
Once the walls are closed and the surfaces are finished, it’s time to install your bathroom fixtures.
Toilet
- Mount to the flange using closet bolts.
- Connect the tank to the water supply.
- Check for leaks around the base.
Sink
- Install faucet and drain assembly.
- Connect supply lines and P-trap.
- Seal around the edge with silicone.
Bathtub & Shower
- Attach the faucet, spout, and showerhead.
- Caulk around fixtures.
- Run water to test flow and drainage.
Common Mistakes to Avoid When Plumbing a Bathroom
Try to be mindful as you plumb so you can avoid the following:
- Incorrect pipe slope (leading to poor drainage)
- Improper or missing venting
- Using the wrong pipe type or diameter
- Failing to secure permits
- Installing supply lines too close to drains
- Not pressure testing before closing walls
- Over-tightening fittings, causing cracks or leaks
Frequently Asked Questions
How long should it take to plumb a bathroom?
The average bathroom rough-in typically takes three to five days, depending on size and complexity; some may take weeks. DIY projects often extend the timeline.
Can a toilet and shower share the same drain?
Yes, but only if the drain is properly sized and vented. Often, they’re just connected by the same main line without sharing a joint.
Leave Plumbing Installations to Comfort First Heating & Cooling
Don’t risk unnecessary expenses with something as essential as plumbing. Trust a licensed company like Comfort First Heating & Cooling. We bring over 50 years of combined experience to serve our community.
Our expert plumbers ensure every pipe, fixture, and drain meets code, functions properly, and lasts for years to come.
We offer same-day plumbing service, maintenance agreements for ongoing care, and upfront pricing you can trust.
Contact Comfort First today to schedule service in the Triangle or Sandhills and experience quality plumbing solutions.